
Hatching quail eggs is an exciting and rewarding process that you can easily master with a bit of practice. While it may seem challenging at first, hatching quail eggs is simple, and over time, your hatch rates will improve as you gain experience. Here’s a step-by-step guide on how to hatch quail eggs, from setting up your incubator to caring for the chicks.
What Kind of Quail Should You Raise?
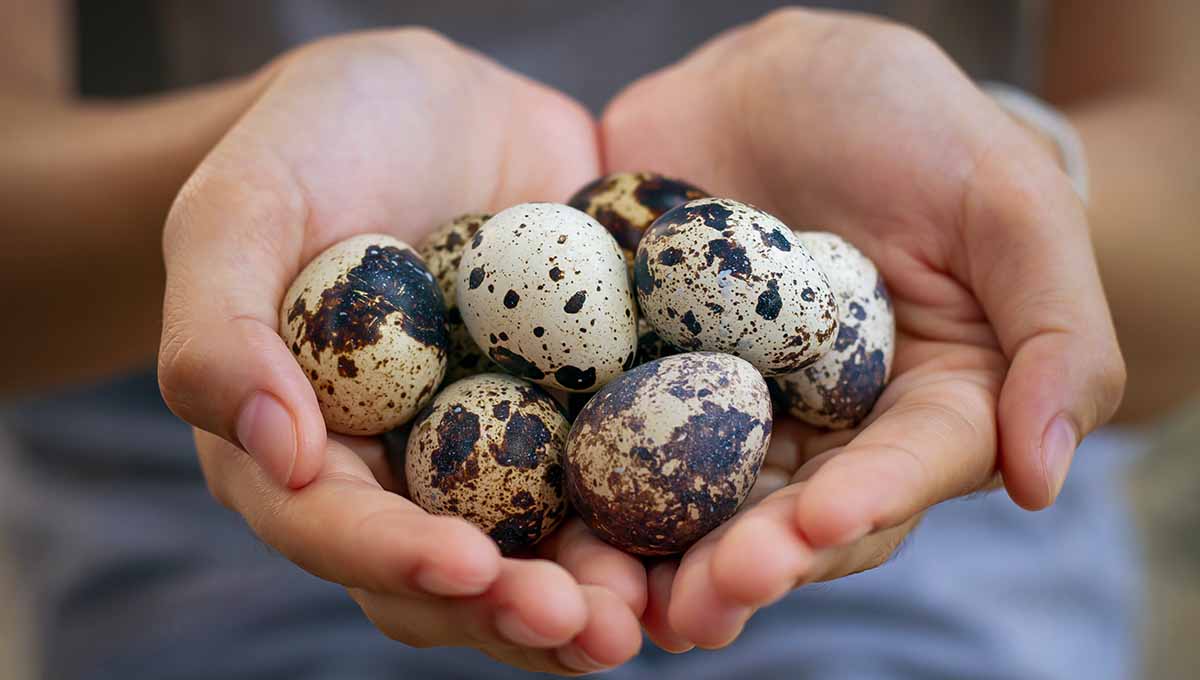
For beginners, the Coturnix Quail is the most popular and recommended variety. It’s hardy, easy to care for, and thrives in captivity. These quail are known for laying a high number of eggs per year, making them great for both egg production and meat. Coturnix quail come in a variety of colors, so you’ll enjoy raising them while marveling at their beautiful feather patterns.
The best part? They begin laying eggs at just 8 weeks old, and it only takes about 18 days for the eggs to hatch.
Preparing Your Incubator
Before you get your eggs, you need to prepare your incubator. Whether you’re using a small or large incubator, be sure to follow the manufacturer’s instructions carefully. Make sure the incubator is running properly and has reached the correct temperature and humidity levels before placing your eggs inside.
A small incubator is typically enough for beginners, and some can hold up to 44 quail eggs, while larger models are designed to hatch hundreds of eggs at once. The key is to use one that you can easily monitor and adjust for optimal temperature and humidity.
Setting the Temperature and Humidity
- Temperature: The ideal temperature for hatching quail eggs is 99.5°F to 100°F. Use a thermometer to ensure it’s accurate, and adjust as needed.
- Humidity: During the first 15 days of incubation, keep the humidity around 40-50%. On Day 16, raise the humidity to about 70-80% for lockdown. This high humidity helps soften the eggshells and facilitates the chicks’ hatching process.
Incubating the Eggs
Once your incubator is preheated and ready, carefully place your quail eggs inside, pointed end down. It’s important to let eggs that were shipped to you rest for 24 hours before setting them in the incubator to stabilize any air sacs.
For the next 15 days, monitor the temperature and humidity, and add water to adjust as needed. You don’t need to open the incubator often, but make sure everything is running smoothly.
Lockdown and Hatching
Around Day 16, you’ll begin “Lockdown.” During this stage, remove the automatic egg turner, raise the humidity, and leave the eggs undisturbed. The chicks will begin hatching on Day 18 or 19, but they can sometimes hatch a day early or late depending on temperature and other factors.
Avoid opening the incubator during this phase, as you don’t want to disrupt the high humidity that the chicks need to hatch successfully.
After the Hatch
After the first chicks hatch, wait 12-24 hours for them to fully dry off. You can then move them to a brooder where they will continue to grow and thrive. Don’t rush the process—each chick needs time to develop its strength.
Final Thoughts
Hatching quail eggs is a fun and educational experience that anyone can try. The key is to be patient, follow the guidelines for your incubator, and don’t get discouraged if things don’t go perfectly the first time. You’ll get better with practice, and soon you’ll be hatching dozens of quail eggs with ease!
If you’re ready to start hatching, visit our online store for hatching eggs, and feel free to reach out with any questions along the way. Happy hatching!