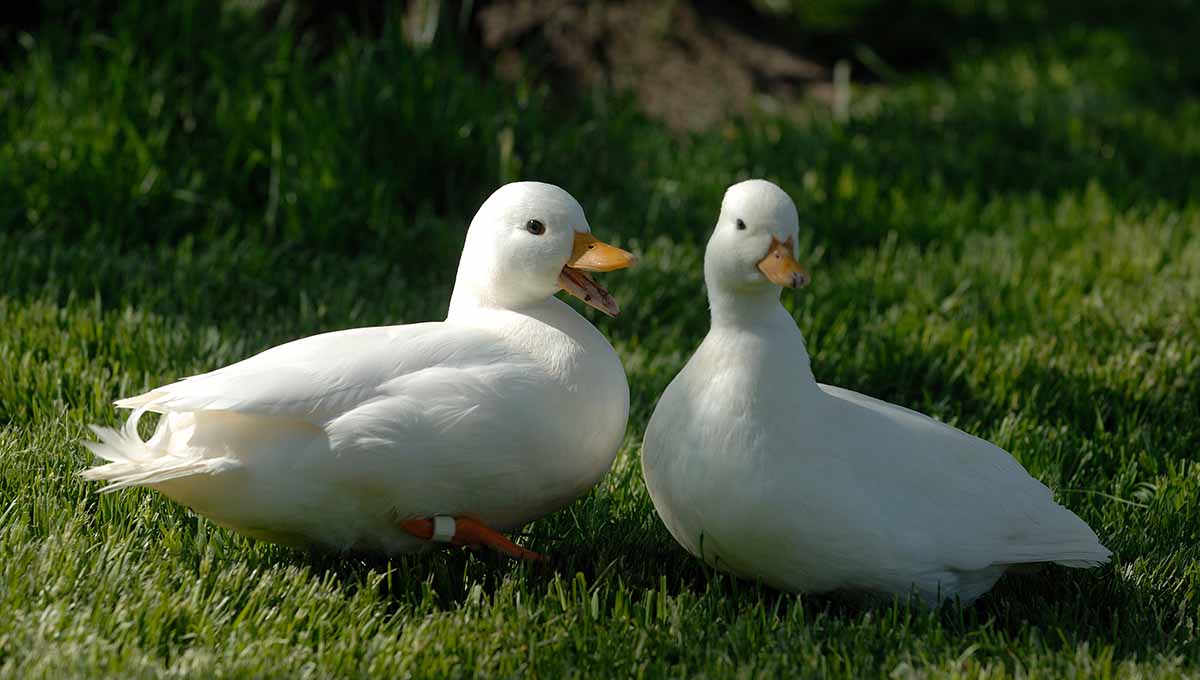
Hatching duck eggs is a rewarding experience, whether you’re a beginner or an experienced breeder. By following the right incubation practices, you can improve your chances of a successful hatch. This guide will walk you through everything you need to know about incubating duck eggs, ensuring your journey from egg to duckling is smooth and enjoyable.
Choosing an Incubator
When selecting an incubator, consider the following:
- Fan or No Fan? Small incubators can work without a fan, but for larger units, a fan helps distribute heat evenly.
- Manual vs. Automatic Turner? If you plan to hatch eggs frequently, an automatic turner ensures the eggs are turned regularly, which is crucial for proper development.
Once you have your incubator, follow the manufacturer’s instructions carefully to maintain optimal conditions.
Incubation and Hatching Conditions
| Phase | Incubation (Day 1-25) | Hatching (Day 26-28) |
|---|---|---|
| Temperature (°F) | 99.5 | 98.5 |
| Wet Bulb Humidity | 86 | 94 |
| Relative Humidity (%) | 57-58 | 81 |
| Turns Per Day | 3 – 7 | 0 |
There are two common ways to measure humidity: wet bulb and relative humidity. You can use online conversion tools to switch between them if needed.
Maintaining Humidity
To measure humidity using a wet bulb, you can make your own by placing a short, hollow shoestring over the end of a thermometer. Place the other end in a small water container inside the incubator. The evaporation rate cools the thermometer, helping determine humidity levels. Adjust humidity by adding water or modifying ventilation.
Turning and Positioning the Eggs
Eggs should be turned frequently, especially during the first week of incubation. Commercial incubators turn eggs hourly, but for manual turning, aim for an odd number of turns per day (e.g., 3 or 5) to prevent eggs from resting in the same position overnight.
If eggs are laid on their side, ensure they are rotated properly. If positioned upright, the large end with the air sac should always be facing up.
Cooling and Spraying Duck Eggs
Some breeders find that cooling and spraying eggs with water after Day 10 improves hatchability. If you choose to do this:
- Allow the eggs to cool until they feel neutral to the touch (about 86°F).
- Lightly mist them with room-temperature water before returning them to the incubator.
- Do not cool or spray eggs after Day 25.
This process helps regulate moisture loss, which should be around 13% of the egg’s weight by Day 25 for optimal hatch rates.
Helping Ducklings Hatch (When Necessary)
In most cases, ducklings should hatch on their own. However, if a duckling has made a hole but has not progressed in 12 hours, you can assist carefully.
- If blood appears when gently removing shell pieces, stop and wait.
- If a duckling gets stuck after beginning to break a circle around the shell, assistance may be needed.
Call Duck Eggs: Due to their short bills and necks, Call Ducks may need extra help hatching. If pipping has not started externally, candle the eggs to check for internal pipping. Assistance may be necessary for their survival, but be careful to avoid damaging blood vessels.
We’ve included a great video from Bock Bock Flower on YouTube on how to assist Call Duckling out of their shell if there is the need to do so. Assisting Hatching Call Ducklings – How to Hatch Call Duck Eggs by Bock Bock Flower
Temperature Fluctuations and Incubation Time
- Short temperature drops usually do not harm the hatch, but overheating can be dangerous. If power is lost, monitor the incubator to prevent overheating.
- According to Metzer Farm the incubation period can vary by breed:
- Mallards: 26.5-27 days
- Runners: 28.5 days
- Most other breeds: 28 days
- Do not attempt to speed up or slow down incubation by adjusting temperature, as this reduces hatch rates.
Storing and Handling Eggs Before Incubation
To give your duck eggs the best chance of hatching, proper storage and handling are crucial. Collect eggs daily, and if they’re dirty, gently clean them with a dry cloth or soft brush—avoid washing them to preserve the protective coating. Store them at a cool 50-60°F (10-15°C) with humidity around 70-75%, and always keep them pointed end down in an egg carton, or on a flat surface if that’s easier. Turn the eggs gently once or twice a day to keep the embryos from sticking to the shell. Handle the eggs with care, and try to incubate them within 7-10 days for the best results. Before starting the incubation process, you can candle the eggs to check their quality and ensure they’re ready to go.
Start Your Hatching Journey Today!
We hope this guide has been helpful in preparing you for a successful duck egg incubation. With the right care and attention, you’ll be well on your way to hatching healthy, thriving ducklings. If you have any further questions or need supplies to get started, don’t hesitate to explore our shop for quality hatching eggs and other essentials. Best of luck on your hatching journey!


