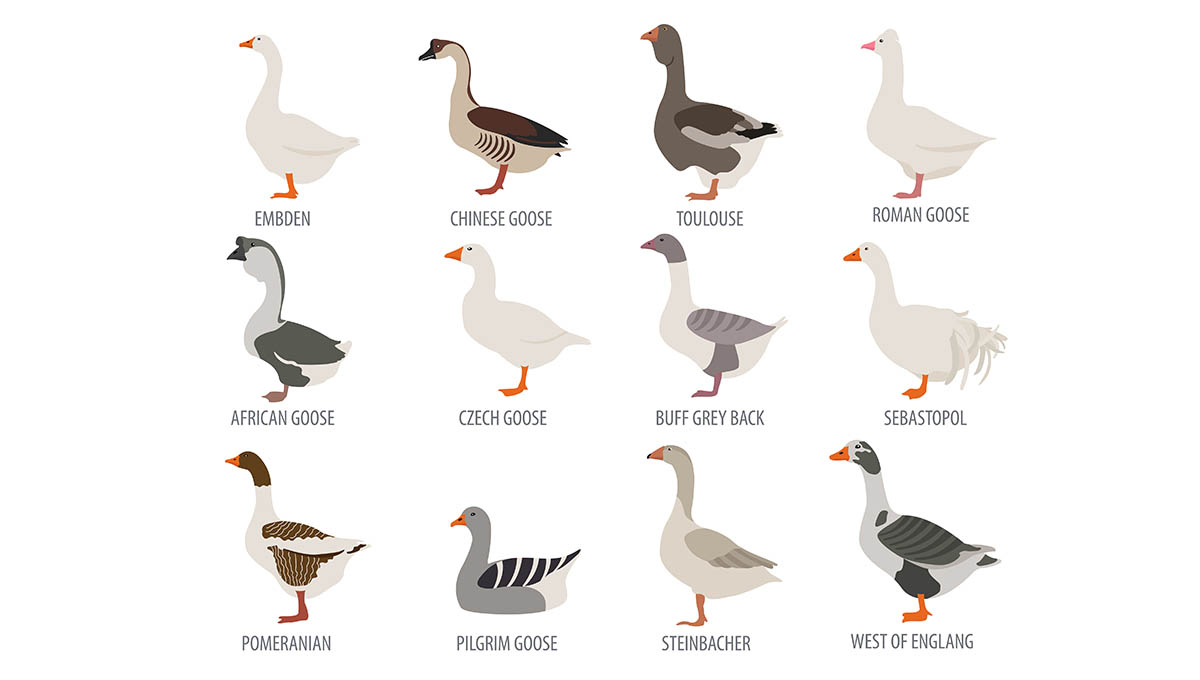
If you’re looking to hatch goose eggs in an incubator, it’s essential to follow the right steps to ensure a successful hatch. Geese are slightly more demanding than chickens, but with proper care, you can enjoy the rewarding experience of watching goslings emerge from their eggs. Here’s everything you need to know to hatch goose eggs successfully.
What You’ll Need:
- Incubator (with temperature and humidity control)
- Goose eggs (fertile)
- Thermometer and hygrometer
- Incubation trays or egg cartons
- Water for humidity control
Step 1: Set Up the Incubator
Before placing the eggs in the incubator, it’s crucial to set the conditions right. Goose eggs require a temperature of 99.5°F (37.5°C) and a humidity level of 55-60% during the first 25 days of incubation. The incubator should be placed in a stable environment—avoid areas with fluctuating temperatures and drafts.
Tip: Make sure your incubator is well-ventilated. Goose eggs need plenty of fresh air to develop correctly.
Step 2: Prepare the Eggs
When you collect goose eggs, handle them gently to avoid damaging the shells. Place the eggs in an incubator tray or carton, and if possible, store them with the pointed end down.
Note: If the eggs have been stored for a few days before incubation, let them come to room temperature before placing them in the incubator. This helps with the even distribution of heat.
Step 3: Turning the Eggs
For the first 25 days, you’ll need to turn the eggs at least three times a day. Turning the eggs helps prevent the embryos from sticking to the shell and promotes healthy development. You can do this manually, or if your incubator has an automatic turner, use it to simplify the process.
Stop turning the eggs three days before the expected hatch date.
Step 4: Monitor Temperature and Humidity
Maintaining the right temperature and humidity levels is vital for the development of the goose embryos. Keep a close eye on your thermometer and hygrometer to ensure that both are within the ideal range.
- Temperature: 99.5°F (37.5°C)
- Humidity: 55-60% for the first 25 days, then increase to 70% for the last 3 days to assist with hatching.
Tip: Make small adjustments to your incubator’s humidity by adding water as necessary. You can also add wet sponges or use a spray bottle to increase humidity levels if needed.
Step 5: Candle the Eggs
Around day 7, 14, and 25, it’s a good idea to candle your eggs. Candling allows you to check for progress and make sure everything is on track.
- Day 7: Check for signs of development, such as blood vessels.
- Day 14: You should be able to see a clearly defined embryo, with its shape becoming more noticeable.
- Day 25: At this stage, the embryo should fill most of the egg. If the egg looks clear, it might not be viable.
Tip: If you notice any non-fertile or problematic eggs, remove them immediately to avoid contamination.
Step 6: The Final Stretch
As the hatching date nears, it’s essential to keep a close eye on your eggs. The humidity needs to be increased to around 70% during the final three days of incubation. This helps the goslings break through the eggshell more easily.
During this period, it’s important not to disturb the eggs too much, as you want the goslings to hatch naturally.
Step 7: Let the Goslings Hatch
Goose eggs typically hatch between 28 to 35 days, depending on the breed and environmental factors. When the goslings start to pip (break through the eggshell), resist the urge to help them—let them hatch on their own. It may take several hours or even a day for them to fully emerge from their shells.
Tip: If a gosling is struggling to hatch, you may need to assist carefully. However, make sure the egg is sufficiently pipped, and only intervene if necessary.
Step 8: After the Hatch
Once the goslings have hatched, leave them in the incubator until they have dried off and become strong enough to move. After that, transfer them to a brooder with proper warmth, food, and water to ensure they thrive.
Conclusion
Hatching goose eggs in an incubator is a fun and rewarding experience, but it requires attention to detail. By carefully monitoring temperature, humidity, and egg turning, you can improve your chances of successfully hatching healthy goslings. Ready to start shopping? Check out our selection of Hatching Eggs!


